If you somehow got here with going from the start, you can head back to Page 1 of this guide. Otherwise, read on.
Cutting the Case
At this point, you're done with the soldering (hopefully) and you have probably tested your system and gotten it to work properly. If not, go ahead and do that because it would be bad to have you close up the system and it doesn't work. OK then, let's go.
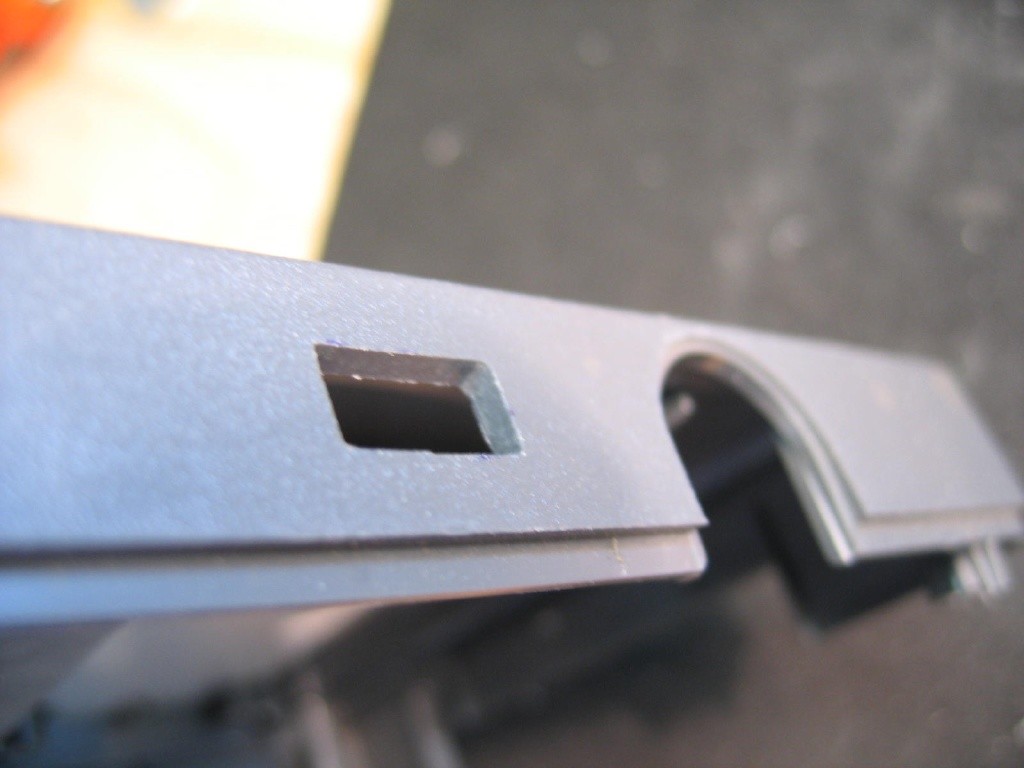
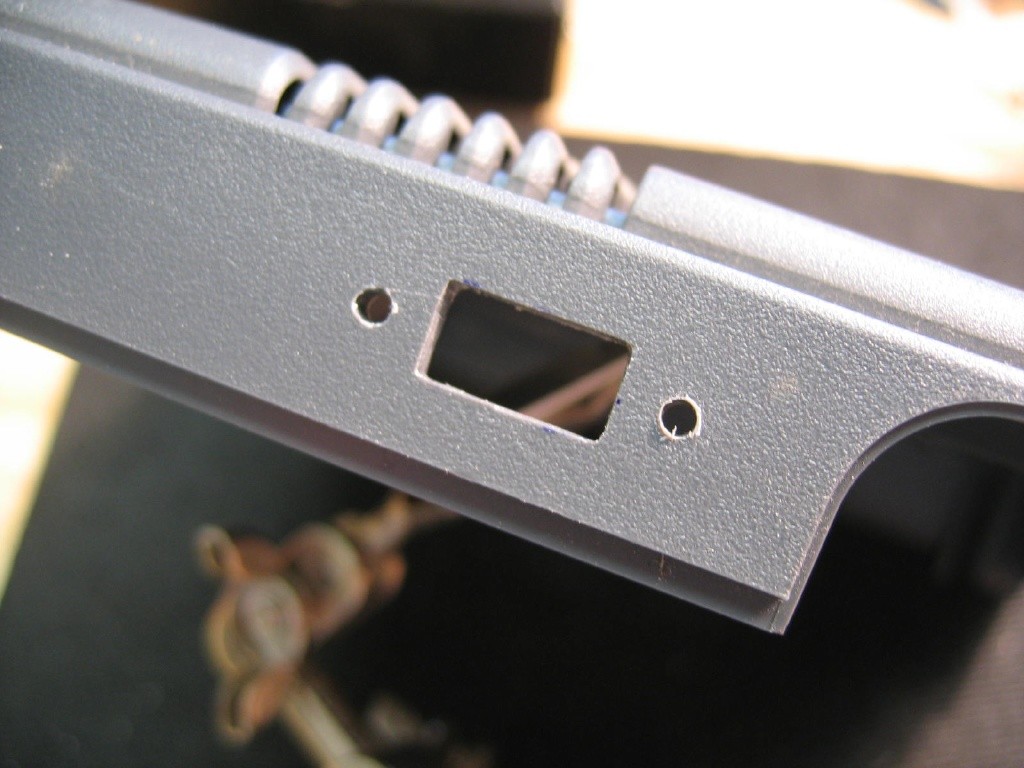
We're going to put the switch on the side of the system where the AV port is. Measure 2 inches back from the front of the case and put a little mark there, about in the middle vertically. The actively moving part of the switch is roughly 3/16" x 3/8" so go ahead a make a box that size with a fine marker or whatever you have that'll mark the case. The right side of the hole will be approx 9/16" from the AV port of the Core or CoreII systems. Once you have it marked off, drill or Dremel a rough hole in the marked off space. Or if you have a good bit on the Dremel, you can smooth it out pretty well. But for the best finish, get some files from Home Depot or wherever else and smooth it out. I have a small square file too that allows you to make corners in the hole. The first picture here is the rough cut and the next one is of the smoothed hole using files.

The screw holes for the switch are about 3/4" apart, put them in such that they're in the vertical middle of the hole you just made. A 1/16" or 3/32" drill bit should be fine. If you try putting the screws in and it's tight, continue to drill out the holes wiggling the bit in a circular motion to widen it as necessary. Once drilled out, plop that switch in there and screw the sucker in. I'm crossing my fingers for you......

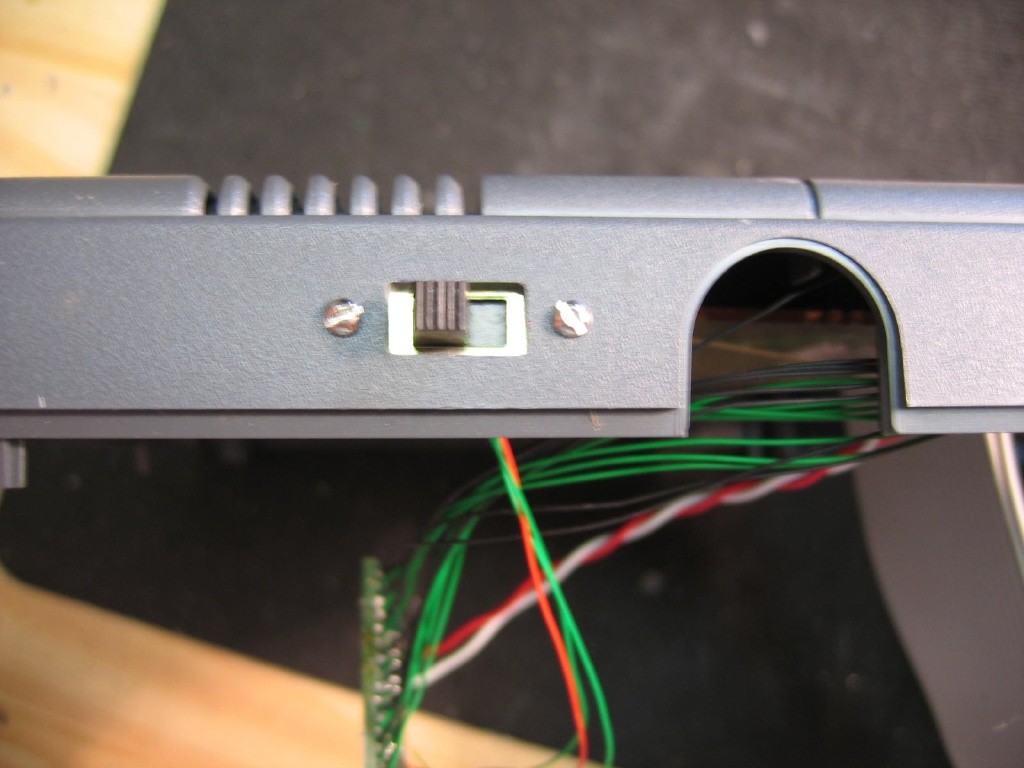
... and does it look like this?
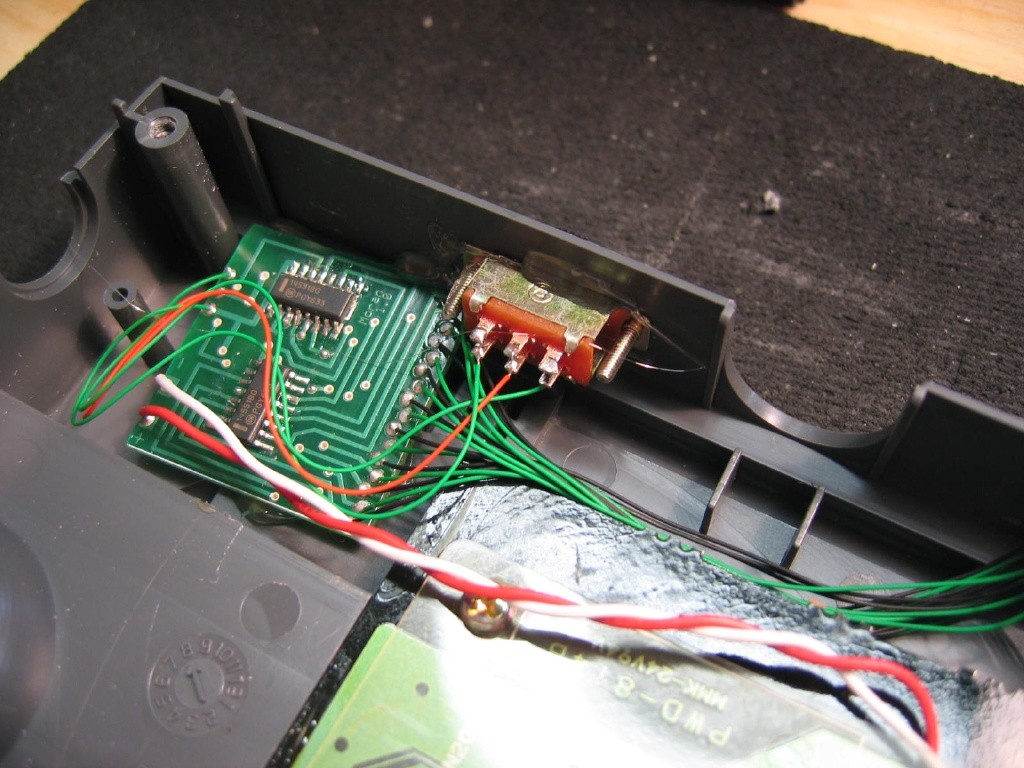
Finally, glue the PCB in place inside. Again, you should be sure the system works first or else you'll be prying this little guy off and there'll be much wailing and gnashing of teeth, I can assure you. Here it is, nice and snug in it's new home.
Finishing Touches
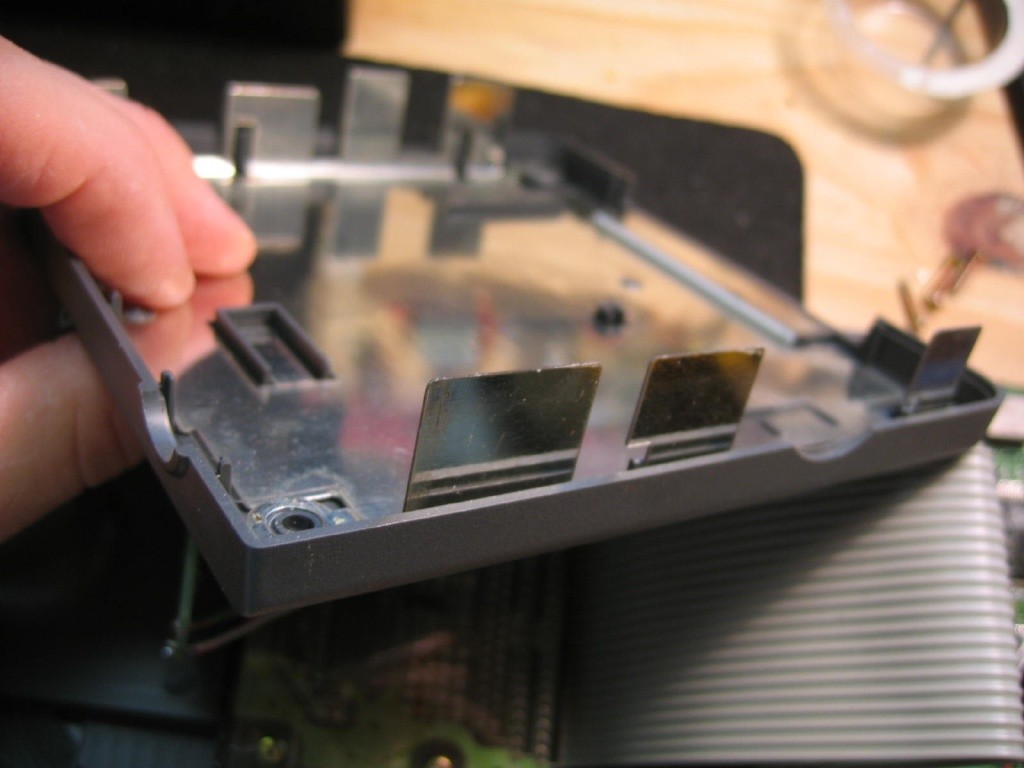
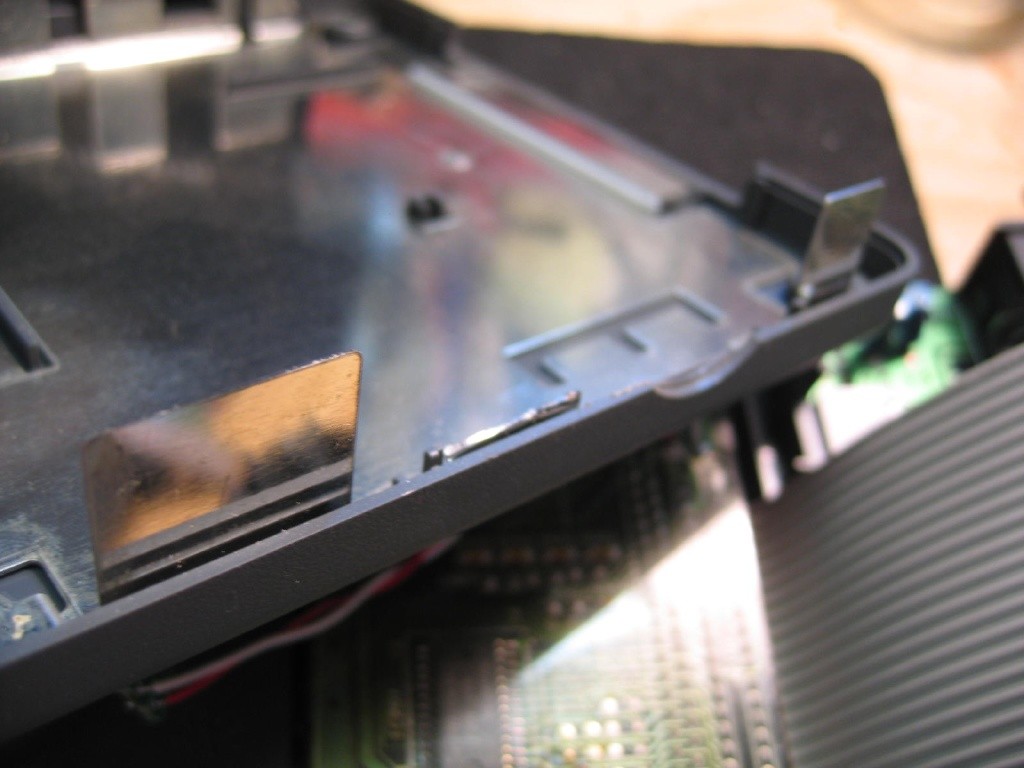
Now you've got the switch wired up and attached to the case, so you've got to close up shop and get this sucker on the shelf next to the Neo Geo and FM Towns. But oops, you can't do that can you? Those wonderful console makers love shielding and these little sucker have a good amount of the stuff. Look at the pics below. That shield in the middle is gonna really screw with the switch where you have it. So cut it out! This is where those aviation shears come in handy, cutting through that aluminum like butter. BUT REMEMBER WHAT I SAID EARLIER. Remember those 4 little metal dots on the bottom, the spring-loaded ones? Yeah, you don't really want to pull out the shielding to cut this because you'll be putting those little nubs back in for 3 days. So cut it out in place.
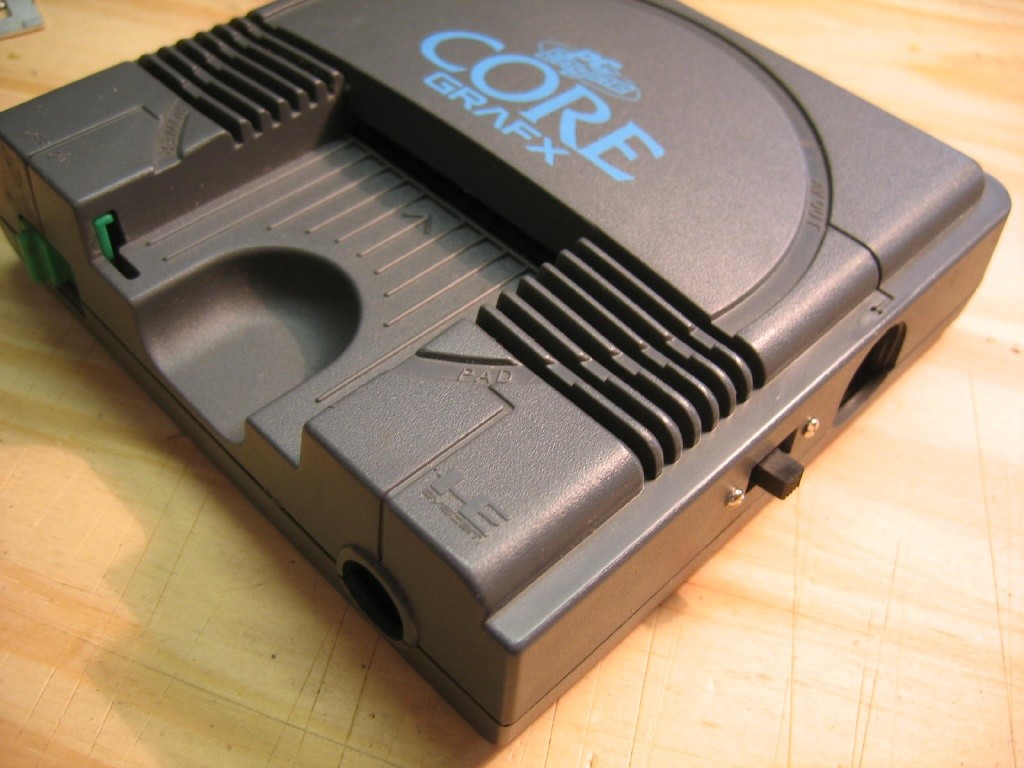
Put the pieces together and screw everything back together and you're done! Test that system one more time and get playing! Here's what it look like all done. Nice subtle little switch.
Did you survive? How about the patient? Please go on over to the forums at www.pcenginefx.com and post your results and stories! The work that went into this mod is credited to lots of people including Ben Moran and many others. The mod has been around for years but now in PCB form it's much more convenient and applicable to other systems. Thanks to everyone out there that has helped and discussed these things.